
A planbook is one school year's worth of plans. Most teachers need only one, but you can create as many as you like — one per prep, per class or per semester.
To create one, click Planbooks in the top navigation, then New Planbook.
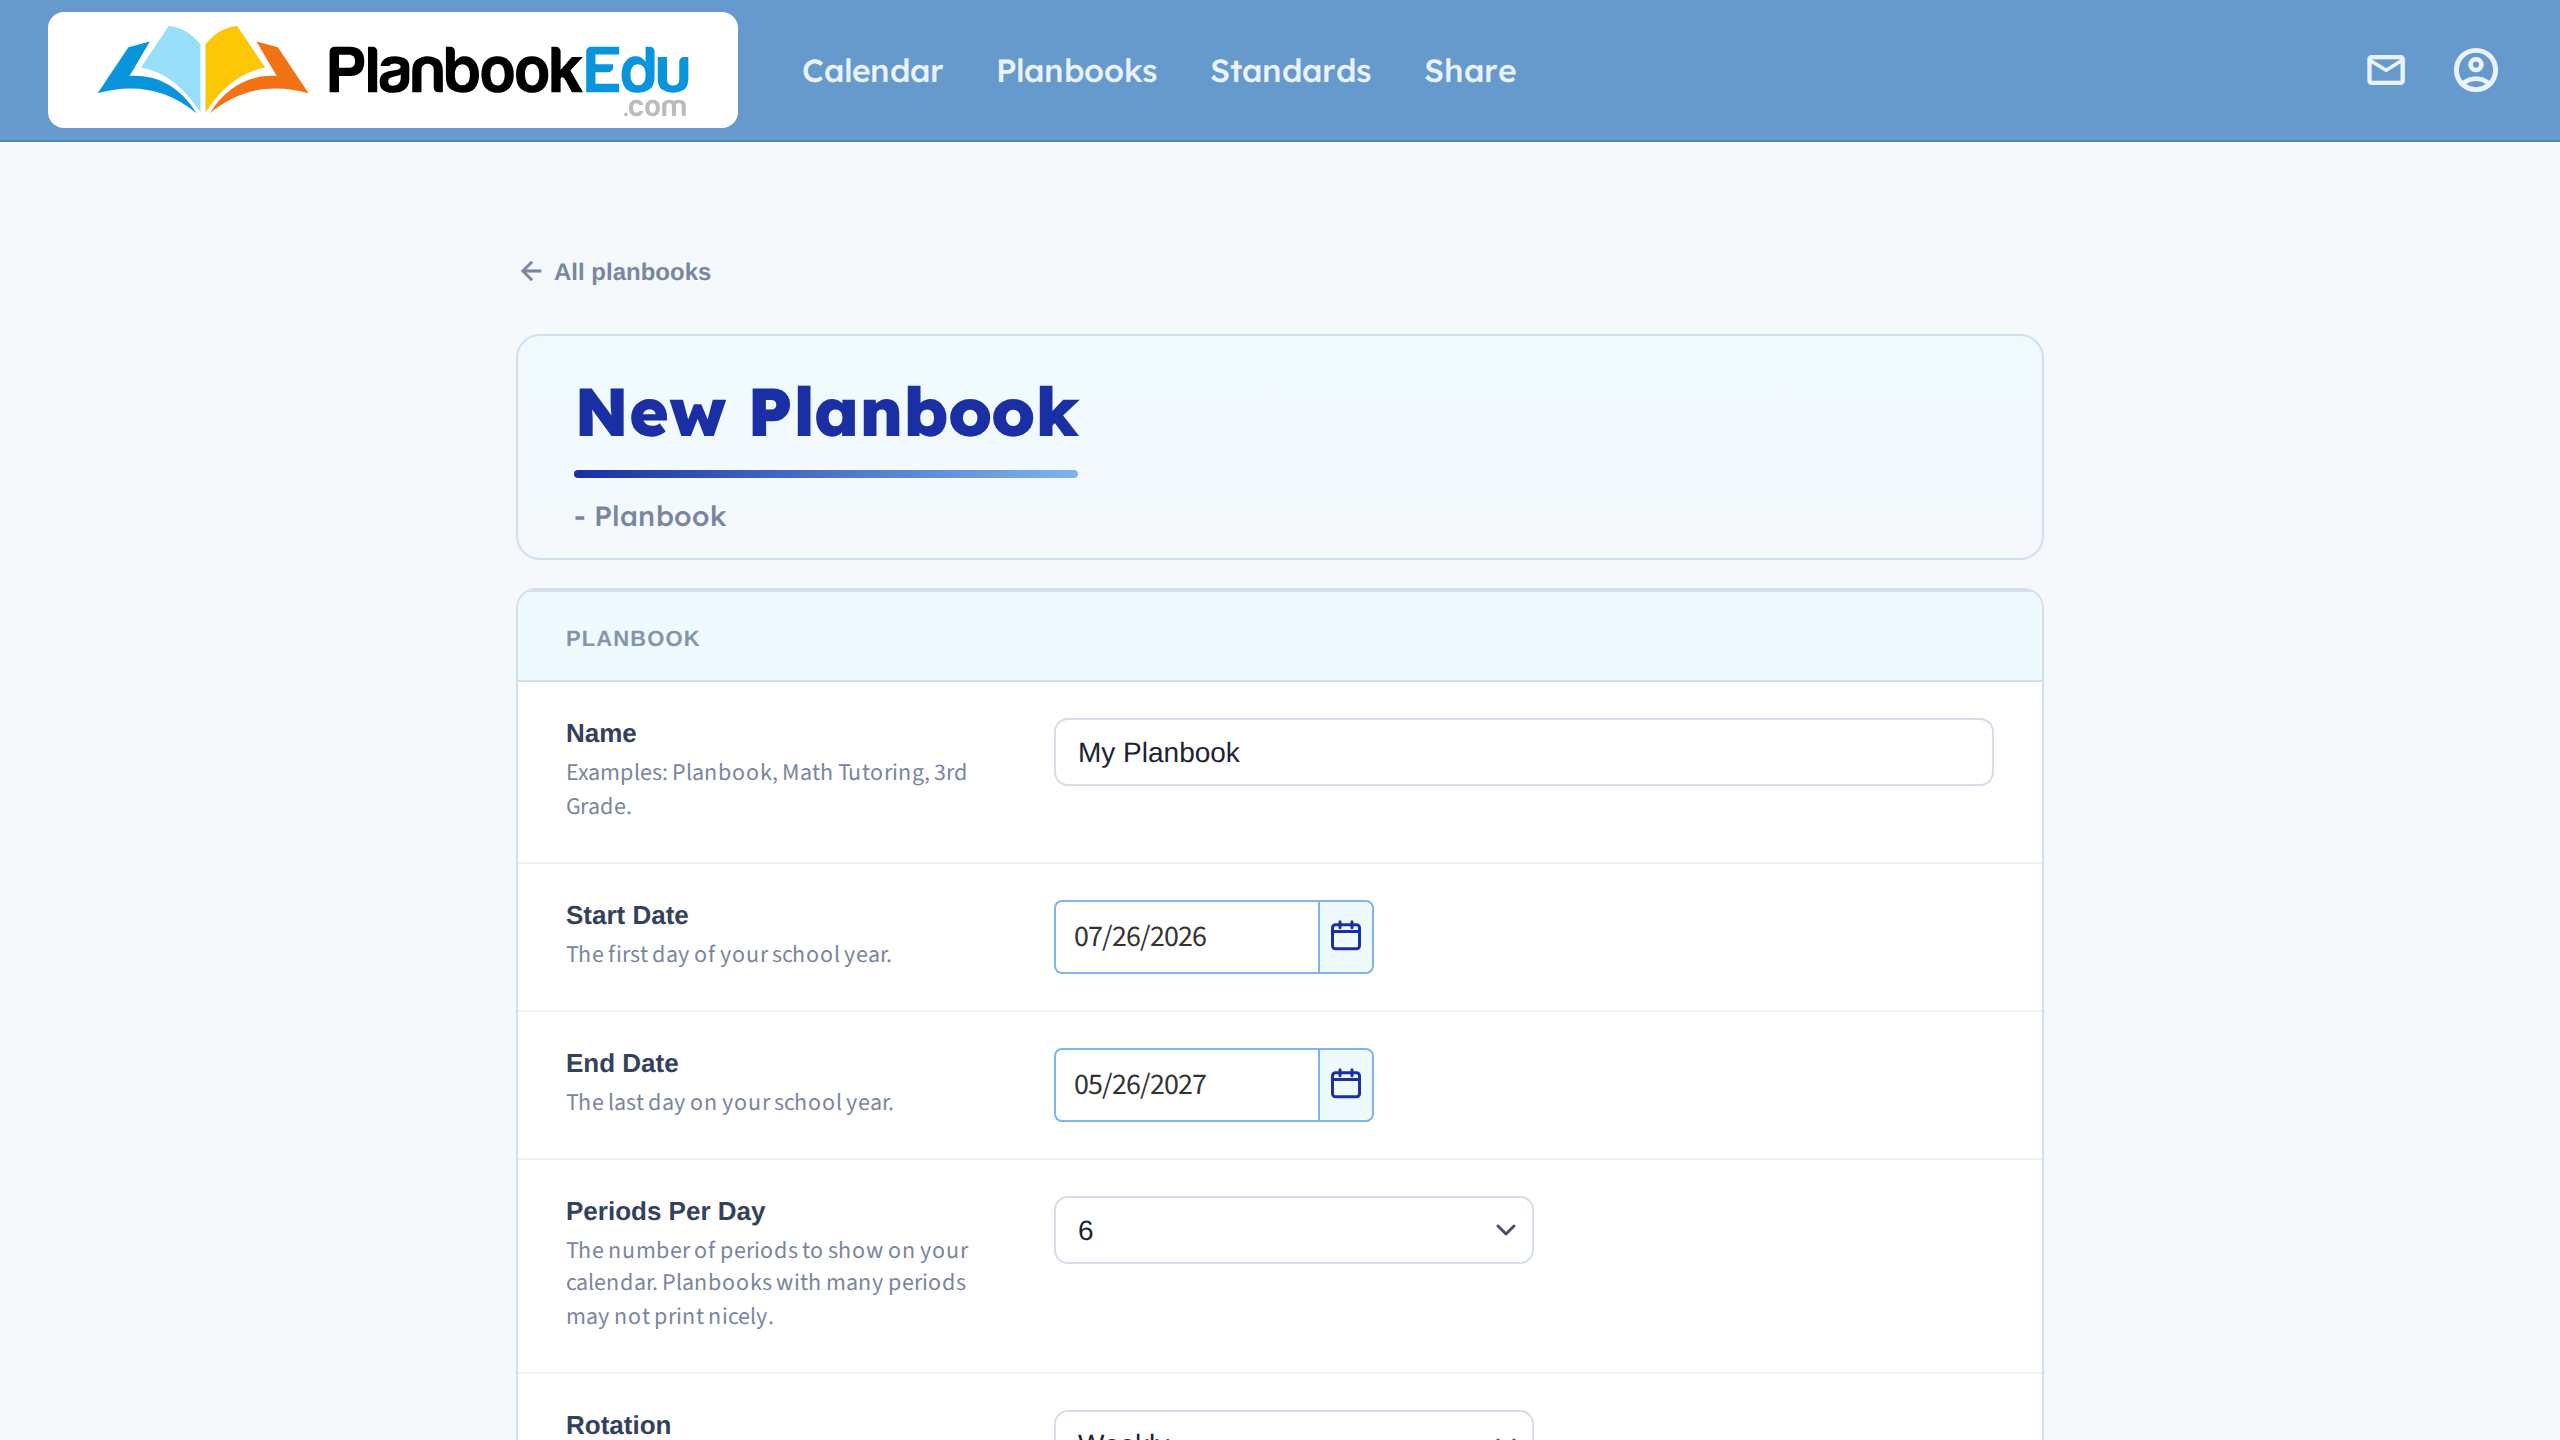
The settings that matter
Name — anything that makes sense to you. If you only ever have one planbook, the default is fine. If you teach several sections, name them so you can tell them apart at a glance: "Period 3 Biology", "Grade 3 — Room 12".
Start Date and End Date — the first and last day of your school year. These control which weeks exist in your planbook, so use your district calendar rather than guessing. You can change them later if the calendar shifts.
Periods Per Day — how many rows your planbook has. Count the blocks you actually plan for, including homeroom or specials if you write plans for them.
Rotation — leave this on Weekly if your schedule repeats the same way every week. Change it only if your school runs an A/B or six-day cycle.
- Fill in the name and your school year dates.
- Choose how many periods you teach in a day.
- Click Save.
Your new planbook opens on the current week, ready for plans.
None of these choices are permanent. You can add periods, change dates or switch orientation at any point in the year — see Building Your Planbook.
What if I teach a rotating schedule?
Set Rotation to match your cycle when you create the planbook. PlanbookEdu then labels days by cycle position instead of by weekday, so an A-day lands on the right column even when a holiday shifts the week.
Next: The weekly view.