
Everything reaches the Cubby the same way: you drag it there.
From your planbook
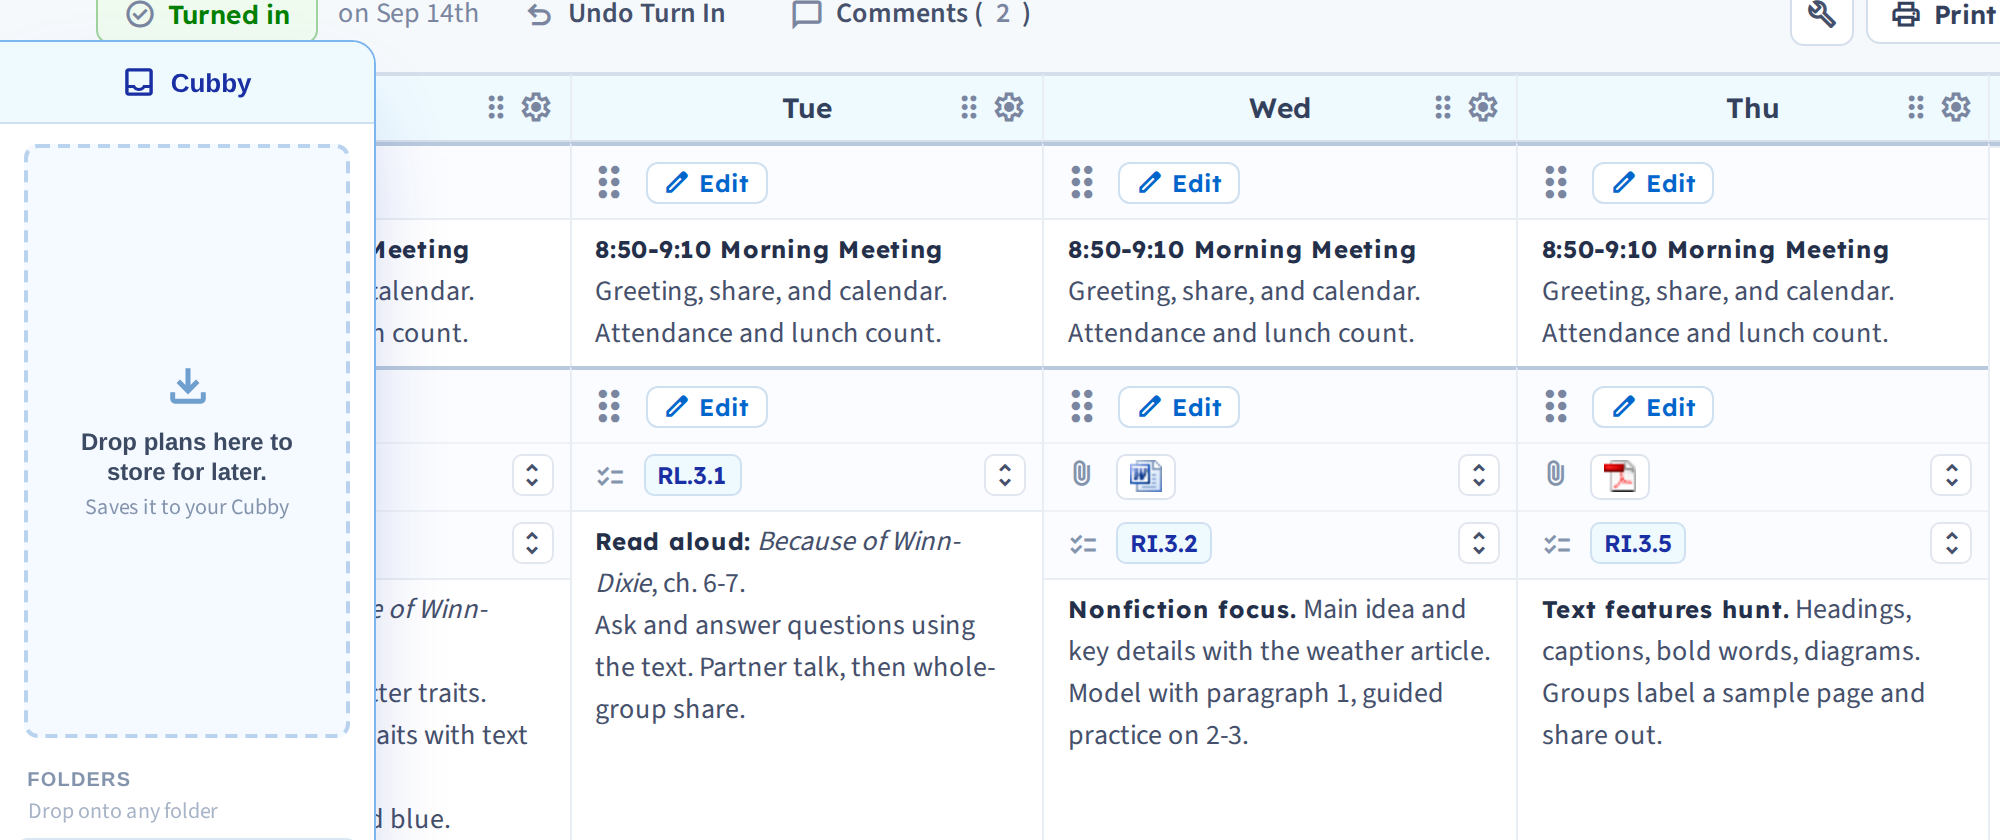
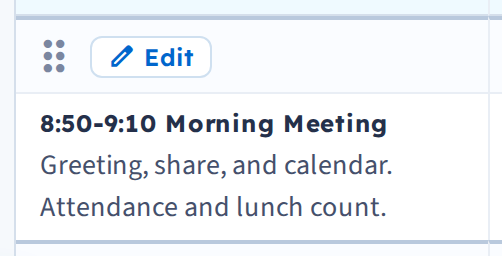
- Grab a plan by its drag handle , or a whole day by the handle in its day header.
- Start dragging — the Cubby opens automatically on the left.
- Drop the item in.
- Choose move or copy.
The Cubby appears as soon as the drag starts:
The handle is the grip at the top-left of a plan:
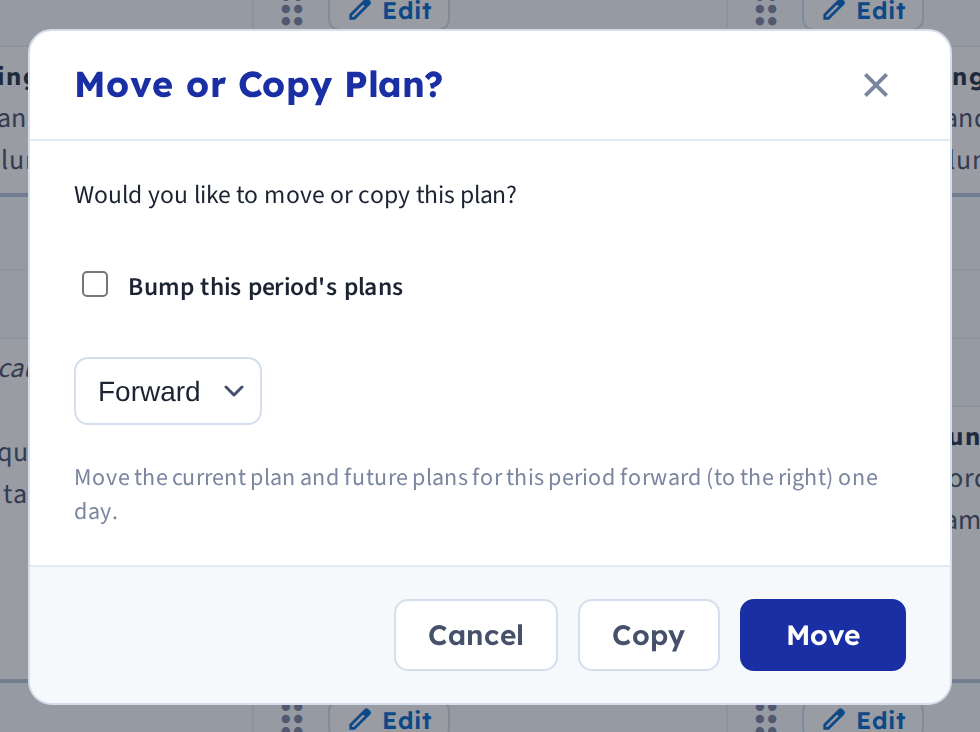
Copy is the safer habit when you're stockpiling material: the plan stays in your planbook and goes on the shelf. Move takes it out, which is what you want when you're clearing a day.
Naming a day
Dropping a whole day in prompts you for a name. The date is filled in by default, but that's rarely what helps you six weeks later — "Lab: states of matter" or "Sub day — reading" is much easier to pick out of a list.
Single plans aren't named; they're identified by their text.
Attachments and standards come too
A plan carries its attachments and standards into the Cubby, and back out again when you place it. You aren't moving bare text.
From your deleted plans
Recovering a deleted plan puts it into the Cubby rather than straight back into your planbook — so the Cubby is also where recovery lands.
Then organize it
A Cubby with thirty loose items isn't much better than not having one. Sort things into folders as you go — see Cubby folders.