
Attaching a file keeps the worksheet with the lesson it belongs to, so you're not hunting through folders on the morning you need it.
Attach a file
- Click edit on the lesson box.
- Click Upload a File.
- Choose the file from your computer.
- Click Save.
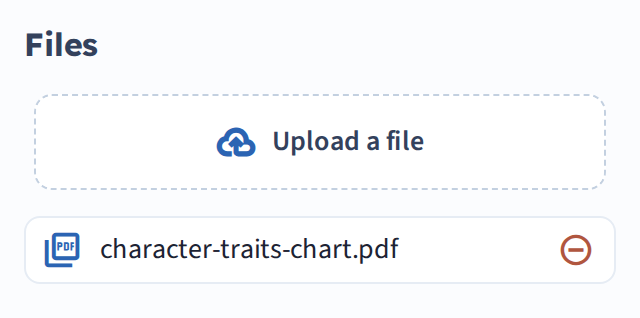
The file isn't stored until you click Save on the plan. Closing the editor without saving discards the upload.
What you can attach
Any file type — Word documents, PDFs, PowerPoint, spreadsheets, SMART Notebook files, images.
Two limits:
- 50MB per file
- 5 files per box
If you're over the file limit, a shared folder link is usually the better answer — see Save plans to Dropbox, Google Drive, or a school drive.
Files already in Google Drive
You don't have to upload a second copy. Link your Google account and attach straight from Drive — see Attach from Google Drive.
How attachments appear
Attached files show on the plan in your planbook. You can display them as a small icon or with the full filename — the wrench icon in the weekly view has the setting under Attachments.
Attachments travel with the plan when it moves to the Cubby, and are visible to anyone you share the planbook with.
Removing one
Open the box with edit, remove the attachment, and save.
A link to a website is a different thing — see Add a link to a plan.