
With a standards set enabled, tagging a lesson takes a few seconds.
- Click edit on the lesson box.
- Find the Standards search box.
- Type any part of the code or the description.
- Click the standard you want from the list of matches.
- Click Save.
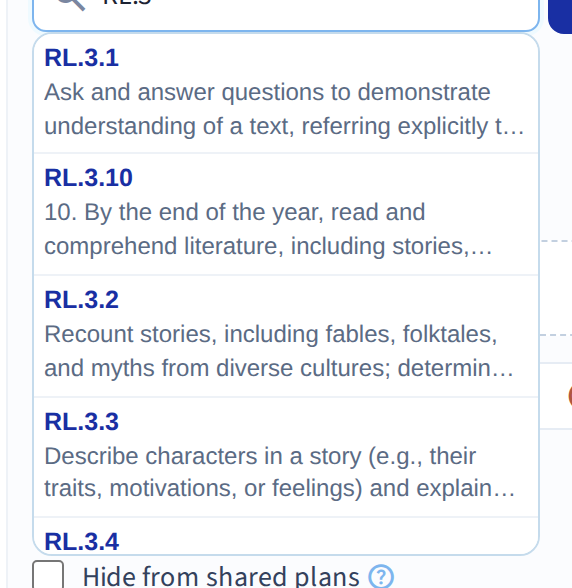
Attach as many as the lesson genuinely covers.
Searching
The search matches both the code and the wording, so you can type 3.NBT.2
if you know the code, or rounding if you don't. Partial matches work — you
don't need the beginning of the code.
If nothing matches, the set probably isn't enabled for this planbook. See Choose your standards set.
Removing one
Click the x next to the standard in the editor, then save.
You must use the full editor
The Standards box only exists in the full editor. Double-clicking a box for quick edit doesn't offer standards — so if you're tagging, click edit.
This catches people out when adding standards to lessons they wrote earlier: reopening in quick edit shows no standards field, which looks like the feature has vanished.
How they show up
Saved standards appear in a box at the top of the lesson. Hover over a code to see its full description.
To change whether the grid shows the short code or the full text, click the wrench icon in the weekly view and set Standards to Code or Full.
Standards attached to a repeating plan apply to every occurrence, and they travel with a plan into the Cubby.
Once you've tagged a few weeks, see Standards reporting for coverage.