
Standards in PlanbookEdu work in three steps: choose the sets you use, attach individual standards to lessons, then look at what you've covered.
1. Choose your standards sets
Standards are off by default, because not every teacher tags plans with them.
Click Planbooks, then More > Standards for your planbook. You can pick your state from the map, choose a national or regional set, or turn on Custom for standards you write yourself.
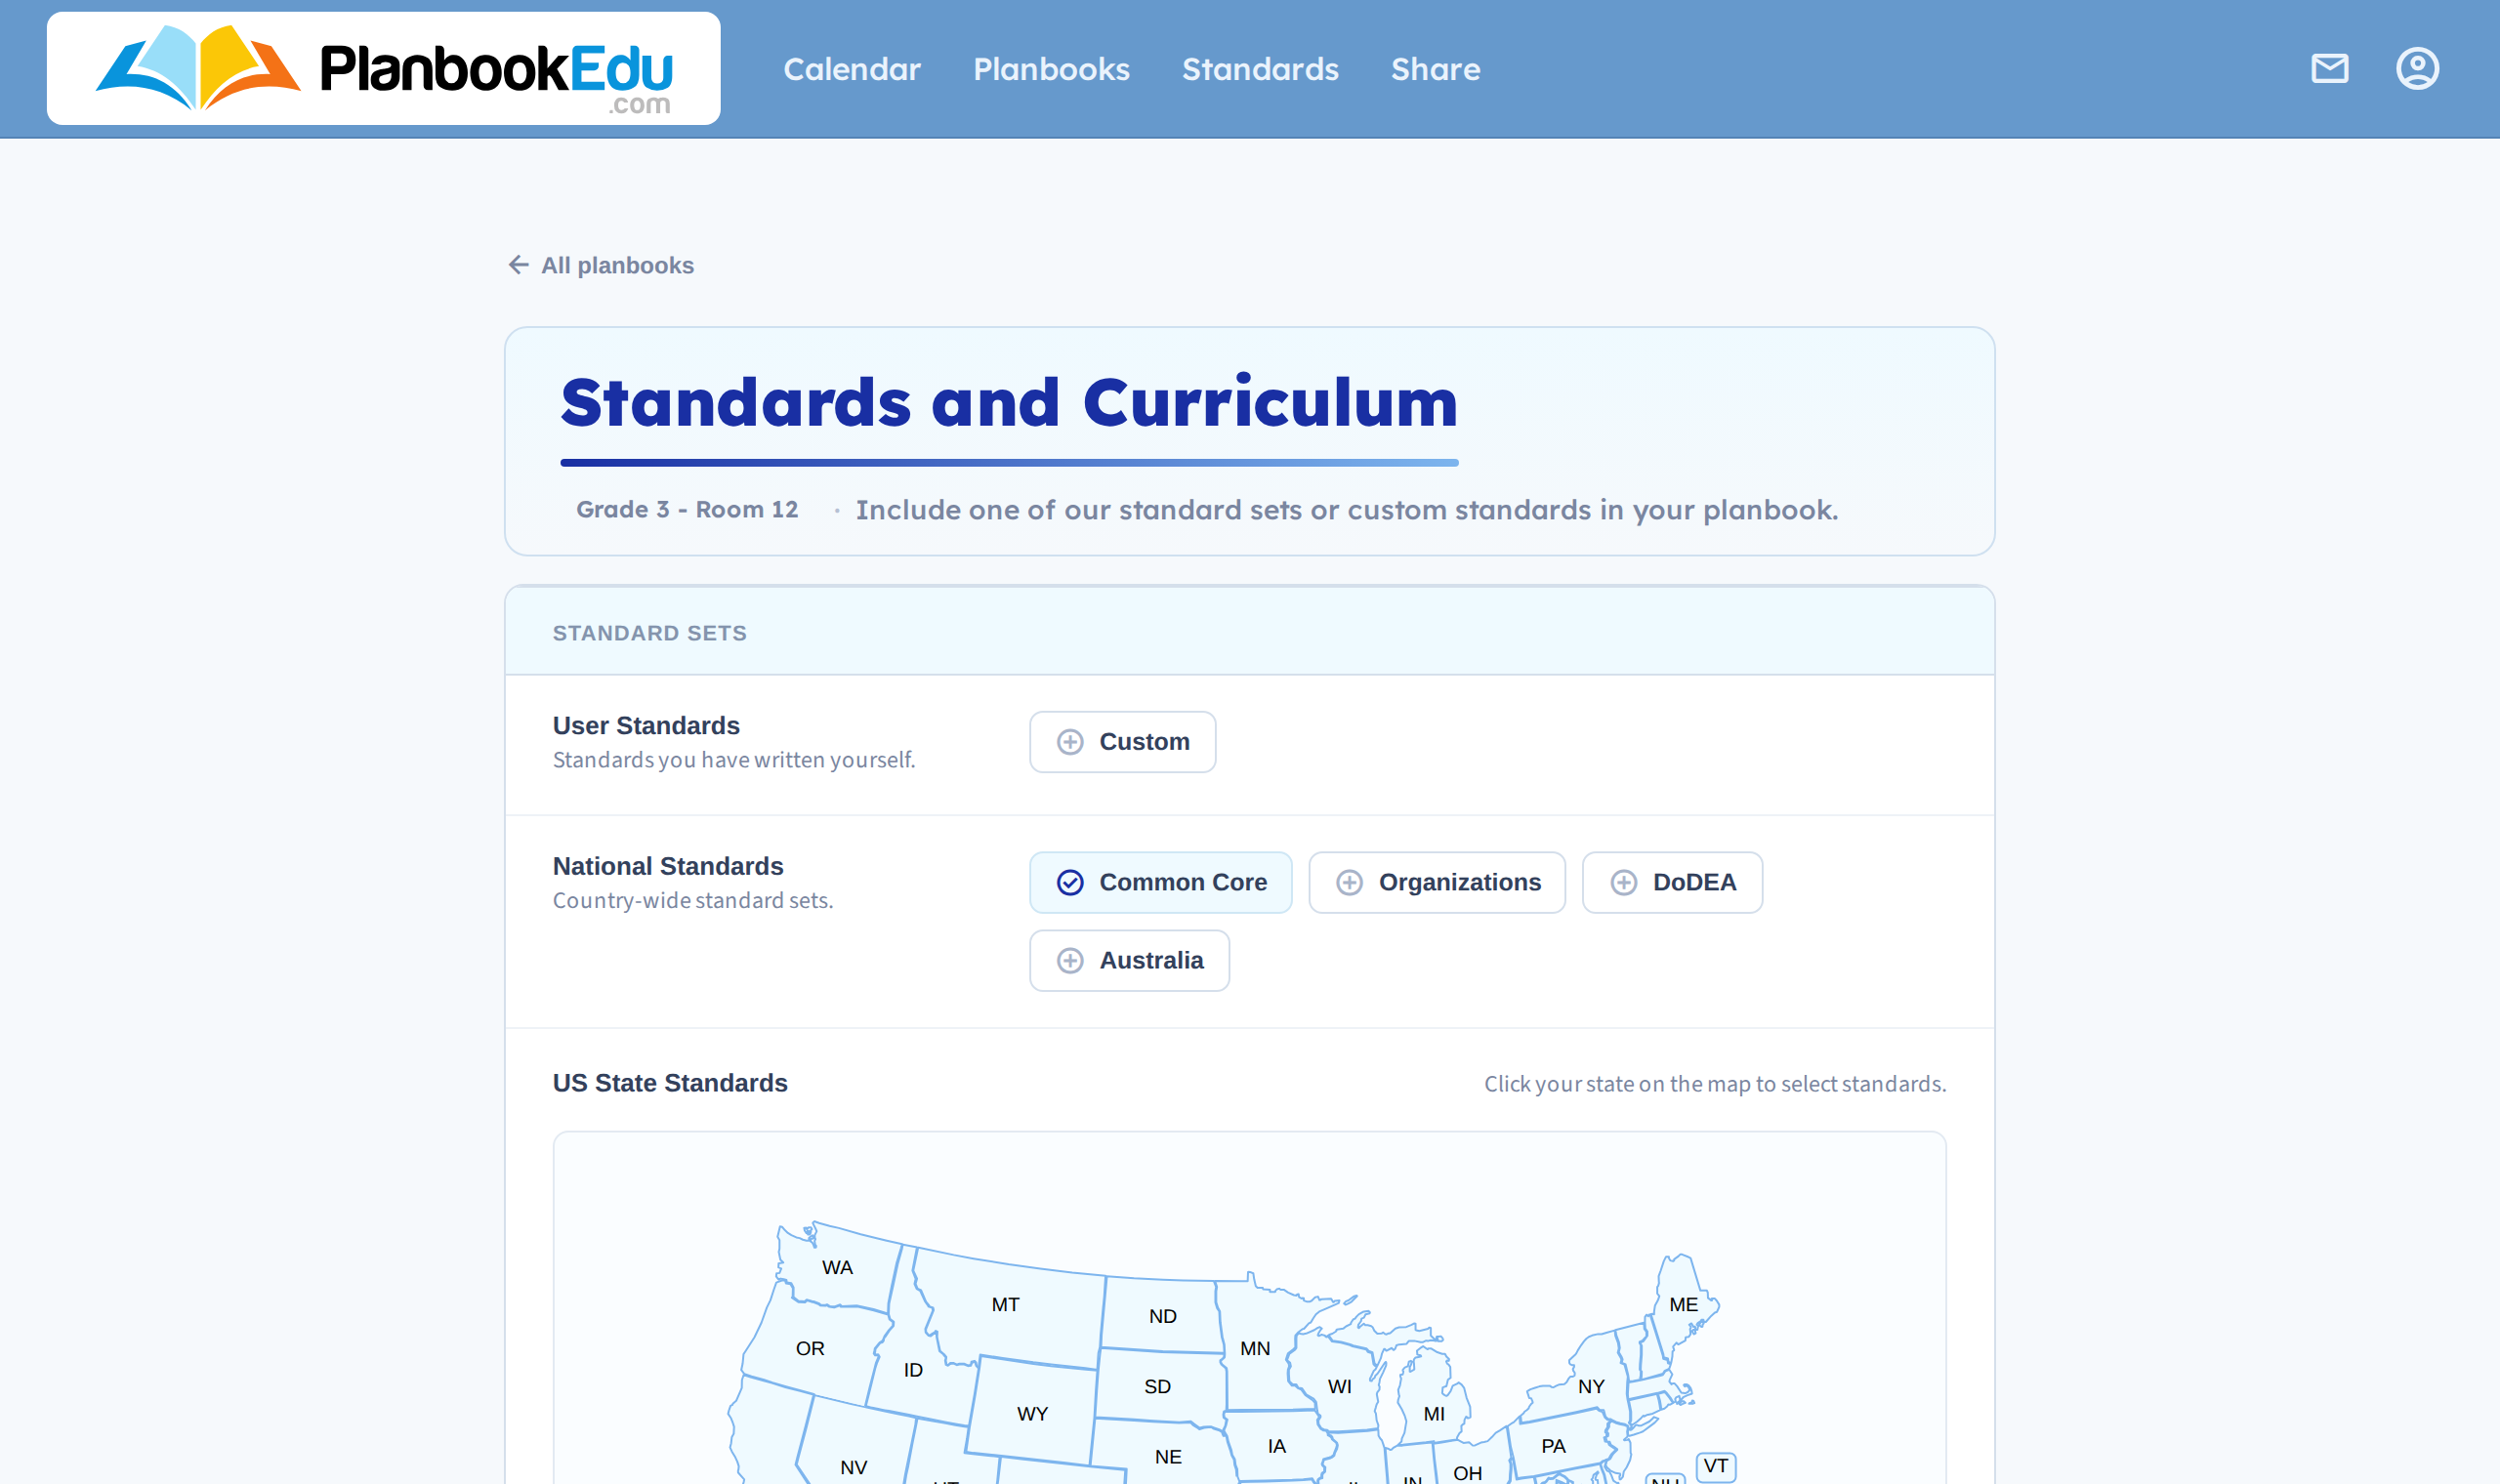
See Choose your standards set.
2. Attach standards to lessons
Once a set is enabled, the lesson editor gains a Standards search box. Type any part of a code or description and matching standards appear; click one to attach it.
See Attach standards to a plan.
Standards are only available in the full editor. Double-clicking to quick edit doesn't offer them.
3. See what you've covered
Click Standards in the main navigation for a report of every set in your planbook: which standards you've taught, how often, and which you haven't touched.
That's the part that earns the tagging effort — it answers "have I actually covered this?" without reading back through the year. See Standards reporting.
Where standards come from
- State and national sets we maintain, including Common Core
- Community standards shared by other teachers — over 600 sets
- Custom standards you write yourself
If yours aren't in the list, see My standards are missing.
How they appear in your plans
Attached standards show in a box at the top of the lesson. Hover a code to read the full description. The wrench icon in the weekly view lets you show just the code or the full text.