
Periods are the rows of your planbook — the blocks you write a plan into. You set how many you have with a single number.
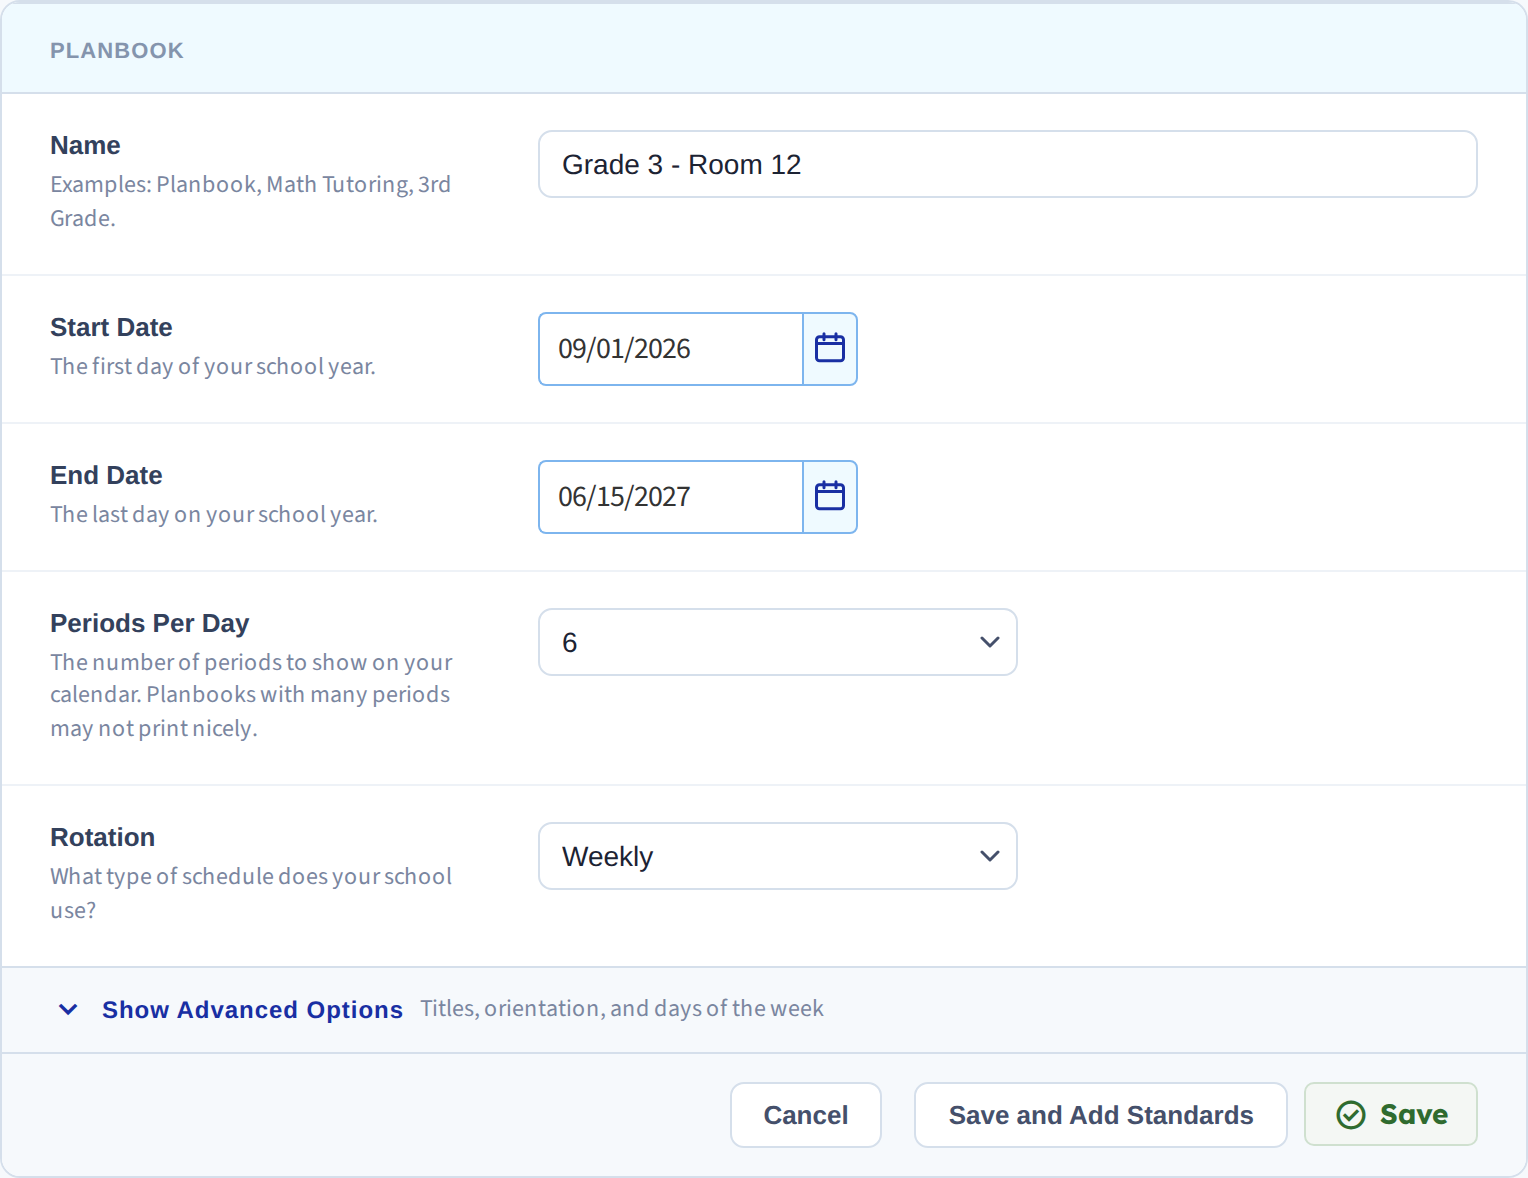
Click Planbooks in the navigation bar, then Edit next to your planbook. The Periods Per Day field takes any number from 1 to 30.
Adding periods
Raise the number and click Save. New periods are appended to the end of your existing ones.
If the new period belongs in the middle of your day — a class added at second period, say — add it here first, then reorder your periods to drag it into place. There's no way to insert directly at a position.
Deleting periods
Lower the number and click Save. Periods are removed from the bottom up.
This is the part that catches people out. PlanbookEdu removes the last periods, not the ones you want gone. If the period you're dropping isn't at the bottom, reorder it to the bottom first, then reduce the count.
Reducing the count hides those periods rather than erasing them. The plans you wrote in them stay in your planbook; they simply stop being drawn, because the grid only renders as many periods as the number says. Raise the number again and the plans reappear where they were.
That makes this a safe setting to experiment with. It also means dropping from eight periods to six and back to eight will not lose you anything — but don't rely on it as a way to archive plans, since anyone who raises the count can see them again.
Renaming a period
The number field controls how many periods exist, not what they're called. To label them, turn on Title Period under advanced options and type the names in — see Rename a period or the title row.