
Print a week with Print in the weekly view, or a day from the cog menu next to the day's name.
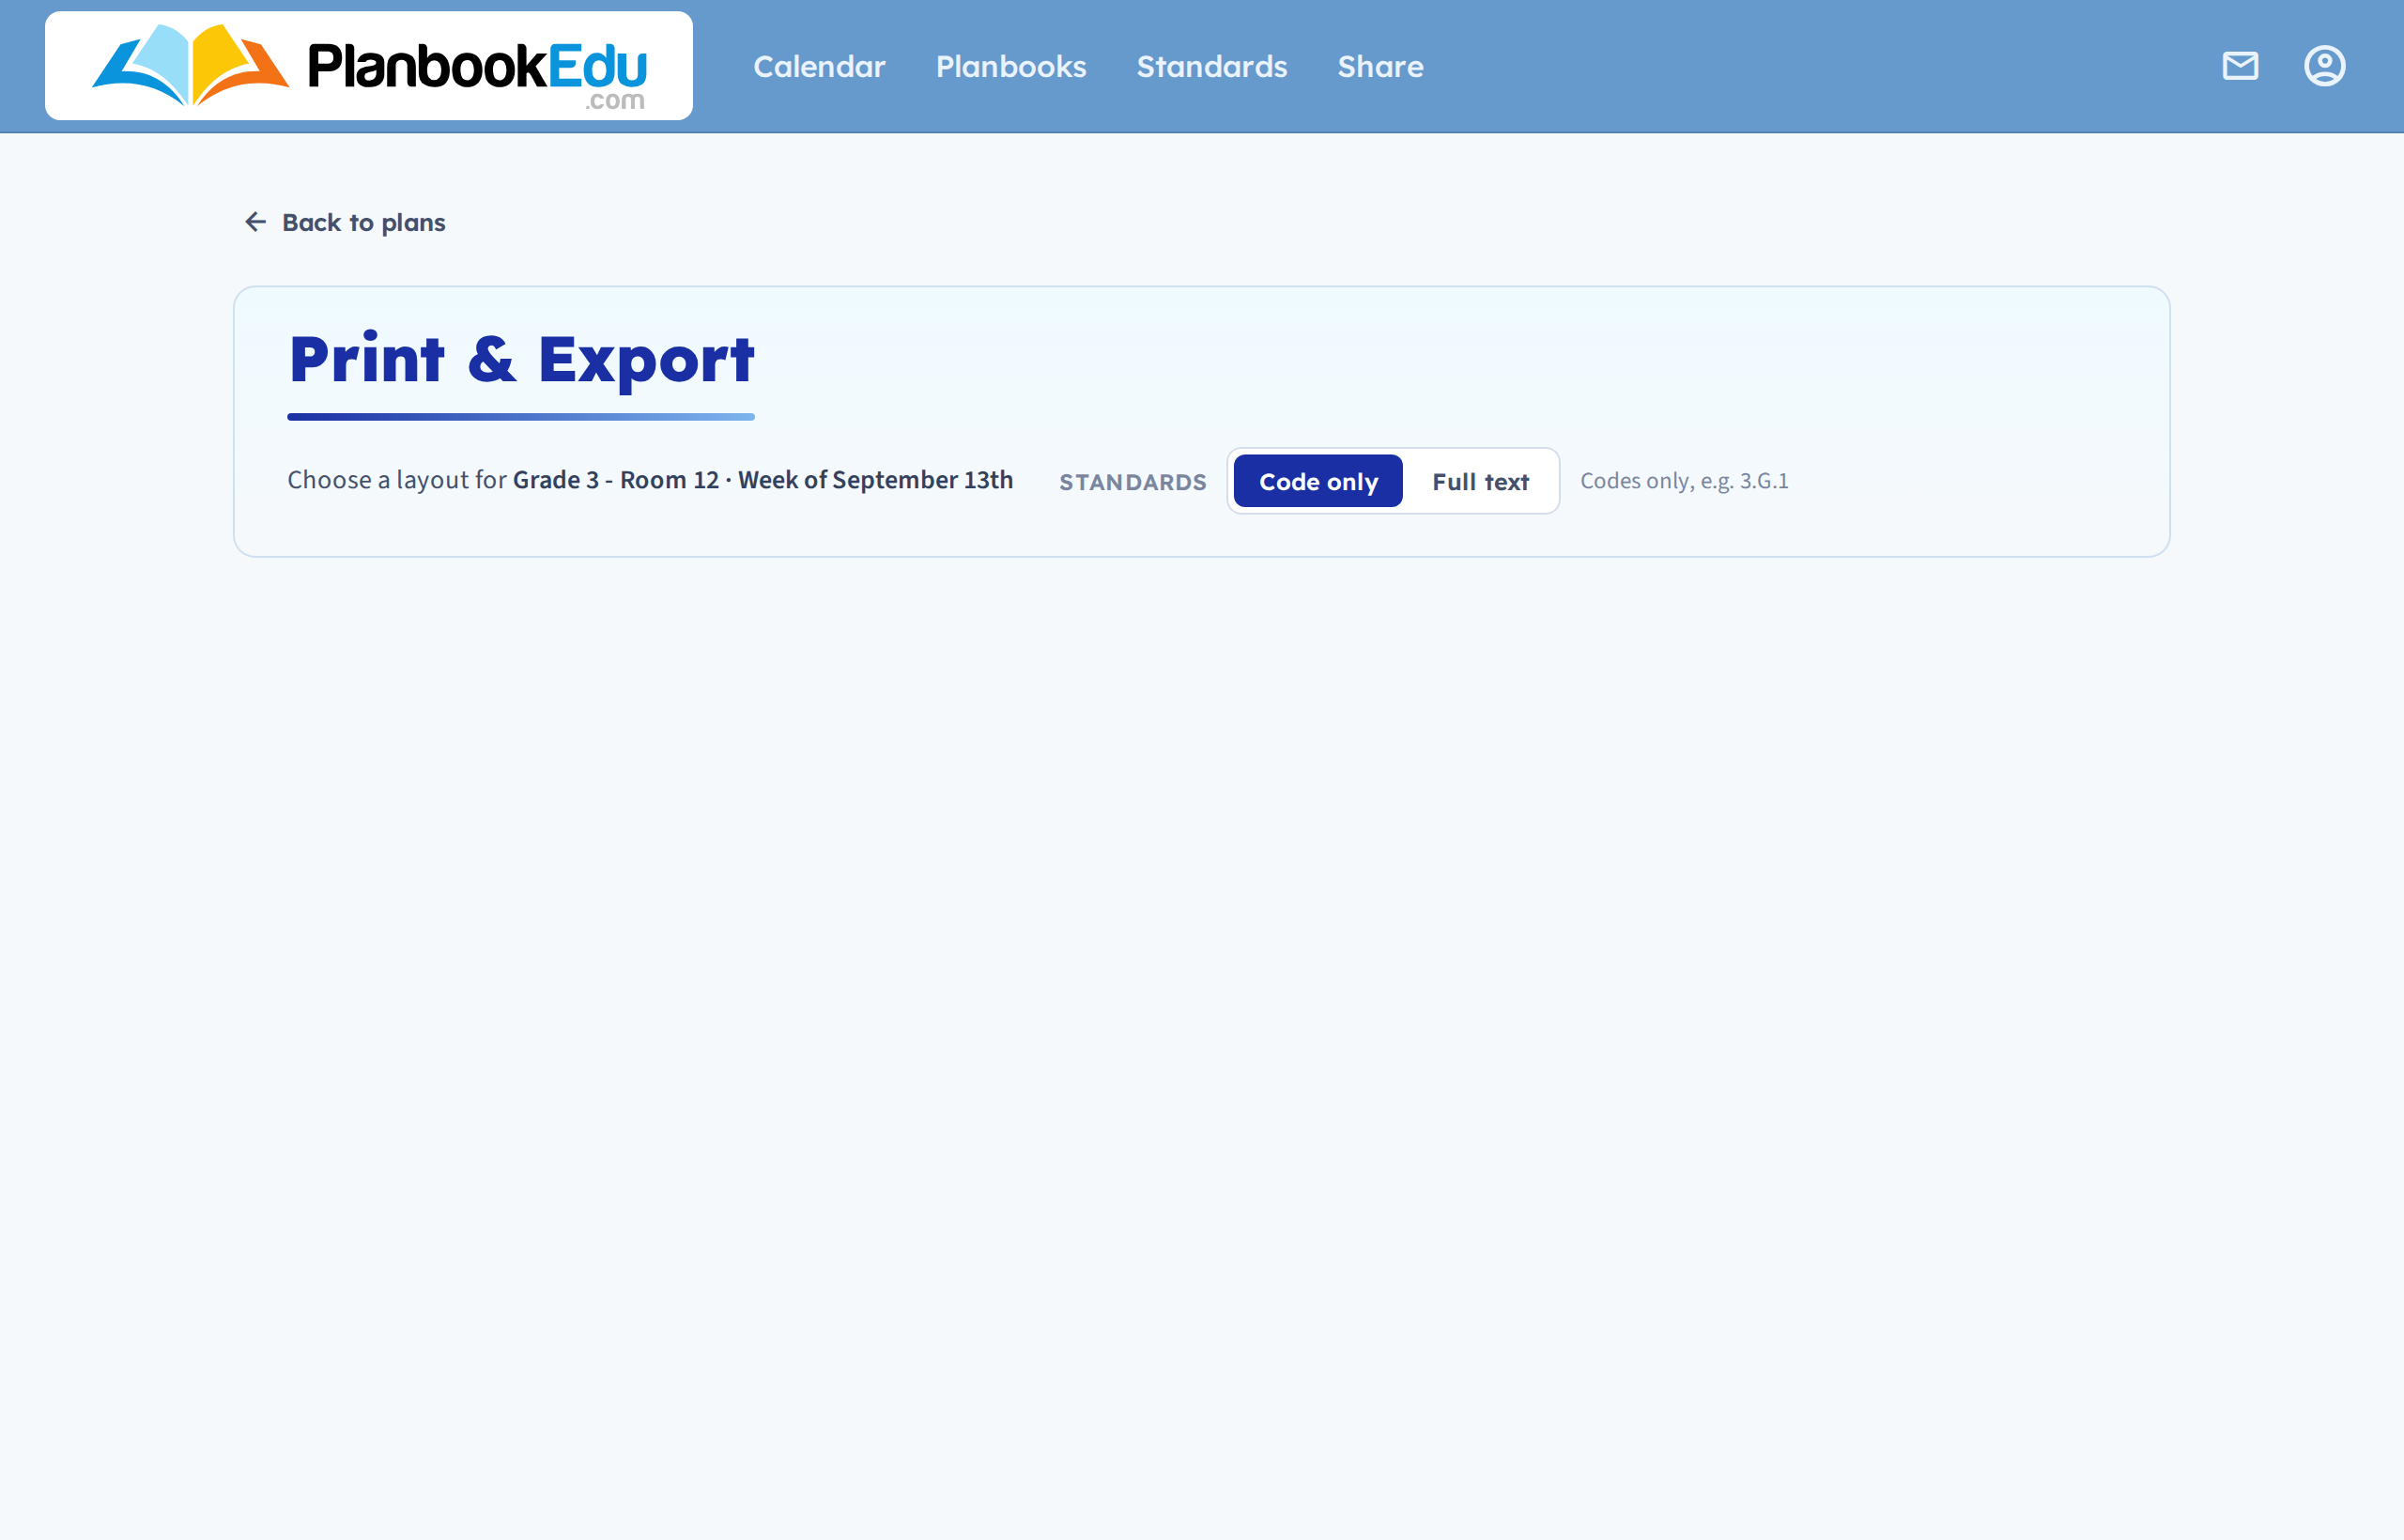
Either way you land on the print options screen, where you pick a layout and then Print, Word or PDF.
Layouts
Standard — the week as a grid, one page. Good when plans are short.
Day by Day — each day on its own, giving long plans room. PDF only.
Split — Two Pages — the week across two sheets, so boxes are bigger without losing the grid.
If a week is cramped on one page, try Split before shrinking the font.
Standards
If your planbook uses standards, choose
whether to print Code only (3.G.1) or Full text. Full text is
thorough but long — it can double the length of a printed week.
Printing a single day with the title row
Print a day from the cog menu next to the day name, not from Day by Day in the week's print screen. Day by Day omits the title row; the day's own print option includes it.
That's the fix if your period names are missing from a printed day.
Colour and highlighting
Browsers don't print background colours by default, so a colour-coded week prints plain. See Printing with highlighting and color.
If nothing happens when you click print
Your browser is probably blocking the pop-up. Look for a blocked-pop-up message in the address bar and allow pop-ups from PlanbookEdu.
Fitting more on the page
- Use Split or Day by Day rather than reducing the font
- Print Code only for standards
- Consider your orientation — days across the top usually prints better in landscape
- Planbooks with a lot of periods print poorly; see Planbook basic options
Related: Export to Word or PDF · Export an entire planbook